Thursday, October 23, 2008

Top 10 Winter Annuals for South Florida


The time has arrived to start planning your winter flower garden in South Florida. Here is my list of the ten best annuals for winter in Florida, based on beauty, reliability and low maintenance.


  1. Impatiens - this annual is a perenial favorite! Colorful, versitile, and relatively problem free. It only has a couple of drawbacks. It takes above average water which could become an issue if the water restrictions are tightened again this year and it is not cold hardy. In the unlikely event that we get a bad freeze this year, they may not survive.
  2. Begonias - Wax begonias run a close second in popularity. Not as many color choices as impatiens but a little more drought tolerant.
  3. Geraniums - shouldn't be planted until later in the season when its cooler and dryer. Plant in full sun to avoid disease problems.
  4. Petunias - A GREAT choice! They come in a wide range of colors, are cold hardy and drought tolerant. Plant in full sun and watch for caterpillars and snails early in the season.
  5. Kalanchoe - Very colorful, very drought tolerant. Plant in full sun. When they finish blooming cut them back and they will rebloom. Actually a perenial. If nursed through the summer they will bloom again next winter.
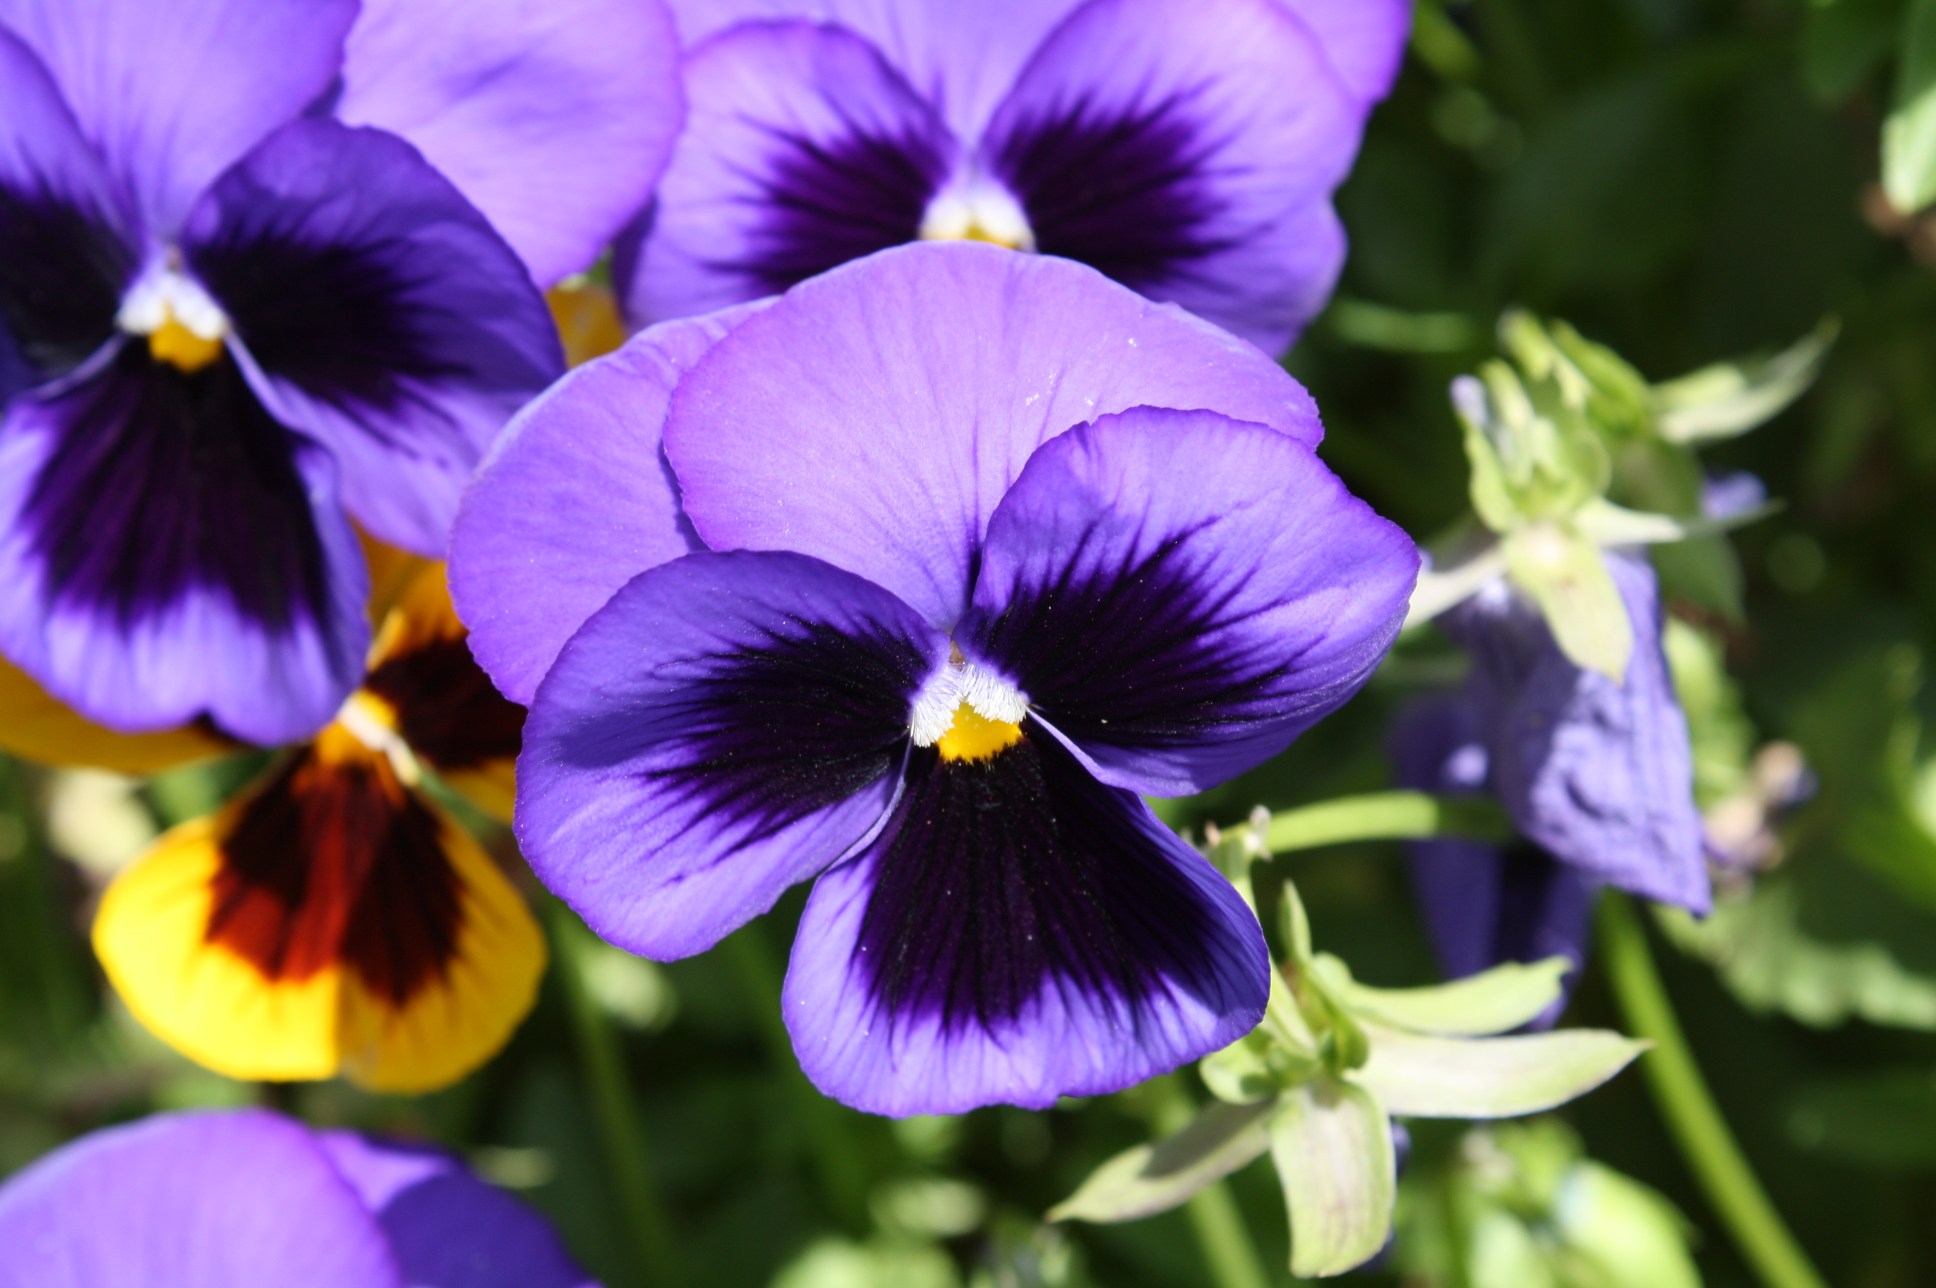
  6. Pansies - Again, wait for cooler weather. They do wonderful from December to April. Sun or light shade. Very cold tolerant.
  7. New Guinea Impatiens - Kind of expensive and need a lot of water, but they are spectacular!
  8. Alyssum - Sweet alyssum is usually overlooked by Florida gardeners but it grows very well and makes a great border. Available in white and purple.
  9. Snapdragons - Like pansies and alyssum they do better after it gets cooler, but I had some last this year from December until June with very little attention.
  10. Lobelia - The low mounding variety are becoming more available in South Florida. Their vibrant violet-blue color is spectacular. They make a great facer or border. Some years they seem to do better than others. I wouldn't make a big commitment to them but mix in a few for their bold color.

Friday, October 17, 2008

Successful Impatien Planting

I've been growing and planting impatiens professionally for over 20 years in South Florida. I've pretty much learned what works and what doesn't work. Most of this will apply to all flowering annuals. Here are a few tips:
  • Location: Impatiens are very versatile. They can do well in pretty heavy shade or direct sun. The ideal location would be where they get morning sun and afternoon shade. In other words, an eastern exposure. But they can work almost anywhere. In the more sun they will be more compact and have more flowers but will need more water. In heavy shade they will get a little leggy and you need to be careful that they don't stay too wet.
  • Soil: For best results the Florida sand will be amended with some organic material such as peat moss. But drainage is very important, so don't make the soil too rich! If the area hasn't been planted in before and is just native sand, I usually add a good potting soil mixture that contains peat, pine bark and some perlite. In later years there is usually enough old soil and composting mulch that I don't add anything.
  • Spacing: I usually plant small annuals on 12 inch centers (12" from the center of one plant to the center of the next plant) . This will usually result in very tall, very full plants within a month or two. If you don't want them too tall or don't want the look of a solid mass of plants then you can, of course plant them further apart. Any closer than that is usually just a waste of plants.
  • Planting: Don't plant them too deep! Apparently in some parts of the country it is common to plant them deep. Not in Florida. It is best to plant them so that the soil level of the plant is about a quarter inch above the existing soil level. If you plant them too deep they will be much more likely to get fungus and rot off.
  • Fertilizer: I have always gotten the best results with Osmocote. It is a slow release fertilizer that is widely available. One application will last about 3 months in South Florida conditions. I use about a half tablespoon per plant spread evenly across the bed after planting. Some people prefer to put the Osmocote in the hole as they plant each plant. There are arguments for each way and both seem to do o.k. but I prefer topdressing. That way as the fertilizer dissolves it washes down through the whole root zone. Some gardeners prefer to use a liquid feed like Miracle Grow. It can give you great results but has to be reapplied every couple of weeks. I also find that sometimes people tend to over fertilize with liquid feeding. This results in large, dark green plants but with few flowers. Its hard to go wrong with Osmocote.
  • Mulch: I always mulch impatiens with a good shredded wood mulch like cypress or dyed mulch. It help maintain moisture in the soil, slows down weeds, looks great and enriches the soil as it deteriorates. About an inch to an inch and a half is plenty. Again, just make sure that the mulch is not up against the stem of the plant as it may cause it to rot off. I usually just cover all the visible soil between the plants but don't mulch under the branches.
  • Watering: Water them in good after planting. The soil should be well saturated. Then watch them carefully for the first couple of weeks. It is best to water plants as needed rather than on a set schedule. The size of the plant, the location, the soil and the weather will all effect how often they need watering. In the winter time, low humidity and strong wind will dry out plants faster than bright sun and warmer weather. When the plants are first planted, they have small root systems. The roots can't reach as far or as deep for moisture, so they will need to be watered more often. As the plants become better established they will need water less often, probably a couple of times a week on average. Ideally the plants should be thoroughly watered and then left till they are just starting to wilt a little and then watered heavily again. If they wilt too much it will cause damage or death to the plant. If they are watered too much, they will get diseases and die. Pay attention to your plants and they will let you know when they need water.
  • Maintenance: Impatiens in winter usually require very little maintenance. There are few insect pests in the cooler months. Sometimes caterpillars show up early in the season and sometimes spider mites arrive in the spring towards the end of the season. I use Sevin on the caterpillars. If mites get bad late in the season I usually just pull the plants at that point. If you plant in November, you may need to re fertilize in late February if the plants are looking a little yellow or thin.
With proper planting and a little attention, impatiens should last from November 1st until about May. That is over half a year. All in all few annuals will give you more bang for your buck.

Friday, October 10, 2008

Choosing Healthy Impatiens

When you're ready to plant impatiens, first of all start with good quality plants! Some growers grow them in shade and some in full sun. After years of growing impatiens commercially and planting tens of thousands of them, I prefer them to be grown in full sun or light shade. Although impatiens are usually thought of as a shade plant, they can thrive in full sun, especially in the winter time. Sun grown plants tend to be fuller and stronger and have more flowers. And you can put sun grown plants into a shadier situation with no ill effects, whereas if you buy an impatien grown in heavy shade and plant it in a sunnier location it may sun burn. So here's what to look for:
  • Plants should be compact (not leggy), with relatively large, dark green leaves. Plants with long internodes (the space between sets of leaves) have been grown in too much shade or too close together. You want symmetrical, kind of dome shaped plants.
  • The plants should have flowers. Impatiens grown in the proper amount of light with the proper amount of fertilizer will start to have flowers very young.
  • Check for insects. The most common pest on impatiens is caterpillars. Look for caterpillar damage and check the undersides of the leaves. They will usually be small green or grey caterpillars.
  • Most important! Look for signs of fungus. Fungus will kill your impatiens faster than anything. If you see a lot of empty, water-logged looking pots among the plants for sale those were probably impatiens that rotted off. Look at the bottom edges of the plants. If you see rotten leaves or bare stems, there is probably fungus among the plants. Also look for black looking stems or brown spots on the leaves. If there are signs of fungus among the plants, I would buy elsewhere.
Generally, just be observant and use common sense. Buy from a nursery that looks clean and organized, where the plants look healthy, cared for and well spaced. Don't shop for price alone. I usually buy annuals in 4 to 41/2 inch pots. Smaller sizes, like the 18 packs are often too small and have a lower survival rate. Larger sizes like 6 inch cost a lot more and with impatiens there is only about 2 weeks difference. So unless you need them to be large now for some impending occasion, 4 inch are usually best.

Most of these tips will apply as well for all annuals including begonias, petunias and other winter flowers.

Next time we'll discuss the right way to plant them for maximum success.

Thursday, October 9, 2008

Getting Impatient for Impatiens?

It is almost time to start planting South Florida's favorite winter annual: impatiens. They are popular for good reasons! They grow easily, bloom profusely, and last for 6 to 7 months. If planted at the beginning of November, with just a little attention and no freezes, they should last until May.

I usually like to wait until the first week of November to plant them. They are available in the nurseries sooner than that, but planting them early is risky. It's not just the heat. Although impatiens have a reputation for needing a lot of water, nothing will do them in faster than too much water. High temperatures, frequent rain and high humidity are a recipe for fungus diseases that can spell disaster in your flower bed. And often in South Florida, October is still pretty wet. By November it will be a little cooler and a little drier and your impatiens will be much happier.

In my next post I'll talk about how to select healthy impatiens and later, how to plant them.

Wednesday, October 1, 2008

Garden Mums

Your summer annuals are probably starting to look a little burned out by now and its still too early for winter annuals. If you are looking for some flowers to fill the gap and brighten up your garden for fall look to Chrysanthemums! There are many colors of "garden mums" now available. These are not the same large flowered chrysanthemums you buy in the grocery store. Those are greenhouse grown and are intended to brighten up indoor spaces. They won't survive long out in the real world. But most garden centers in Florida now sell the garden mums. They have smaller flowers, but pack a lot of color. Fall is their natural blooming season. They don't bloom non-stop for months like impatiens or begonias would. But when they bloom, they really bloom. Typically the entire plant will be covered in little flowers that last a few weeks. When they finish blooming you can cut them back and they will bloom again in a few weeks. They are a perennial and with a little attention will often live through the summer and bloom again next fall. You can usually find them in small 4 to 41/2 inch pots for $1.50-$2.00 up to large tubs with plants a couple of feet across for around $20. Choose plants with lots of buds that are just beginning to open. That way you'll get the most time out of your bloom.

Friday, September 26, 2008

Bougainvillea - Preparing for the Big Bloom

Possibly the most spectacular blooming plant in Florida is the Bougainvillea. They bloom off and on throughout the year, but their biggest show is in the middle of winter. If you own a Bougainvillea you know that they grow incredibly fast during the warmer months and need frequent pruning to control their size. But one of the keys to a great bloom in the winter is to not prune them too late in the fall. They should be cut way back in September and then turned loose to do their thing. So now is the time to put on your heavy gloves and give them one final cut back for the year. You will probably need to shape them up a little from time to time, but any heavy pruning after October may seriously impact their big bloom.

A couple of other tips for getting the best bloom from your bougainvillea:
  • Full Sun: The more sun your bougainvillea gets, the more it will bloom. An Ideal location will provide full sun and shelter from cold winter winds.
  • Fertilizer: Fertilize regularly through the spring and summer. Give it one last shot in September or October. Use a fertilizer that is high in phosphorus and not too high in Nitrogen. A fertilizer formulated specifically for bougainvillea or blooming tropical plants is best.
  • Water: NOT TOO MUCH WATER. Bougainvillea thrive on dry conditions. Water only when they look wilted.

Tuesday, September 9, 2008

Inorganic Mulches


Inorganic mulch is anything that is not an organic material, in other words, anything that is not made from plants or plant byproducts. Inorganic mulch has the benefit of being more permanent. But that is also its biggest disadvantage because, unlike organic materials, it does not break down and enrich the soil.

Traditionally inorganic mulch has usually meant rock or gravel. There are a wide variety of rocks available to give a range of different colors and textures. Rock is as close to permanent as you can get. It doesn't float away easily and most of all, if done right, it is beautiful. Rock will usually cost much more initially, but won't have to be replaced regularly like wood mulches.

The most popular rocks are crushed marble and egg rock. Crushed marble comes in white, brown, green, grey and pink. Egg rock is smooth, rounded river rocks and comes in several shades. There is "white" which is a mixture of white and light browns, "brown" which is mostly medium browns and another which I know as "river jacks". It is a mixture of black, grey, brown and reds. River rocks usually are graded by size and offered in 3 or four different sizes. The smallest river rocks, usually 1/4 to 1/2 inch are called "chattahoochee".

Other available types of rock are crushed granite that is usually black and white speckled, lava rock, which is available in red or black and another volcanic rock that is one of my personal favorites. Different companies sell it under different names, but I know it as Timber-lite. It is rough textured, medium sized pieces that are mottled brown, black and tan. There is also a rock sold as "Cedar Bark Rocks" that is a brown rock that looks very much like chunks of cedar bark. If you like the looks of bark but don't like the fact that it is prone to floating away, this might be a good choice. There are also some fancier, more expensive rocks available if you are looking for something really special. Among others there are "Mexican Beach Pebbles" that are round, flat smooth rocks that come in a number of sizes and colors. In the picture above are Columbian River Rocks in red and gold.

If you are considering using rock in your landscape here are a few tips:

  • Light colors like white marble chips look spectacular when you first put them down, but they quickly get dirty looking from algae and debris like grass clippings and leaves. A darker color will camouflage a lot of that and look better longer. That is one reason I like the Timber-lite.
  • Lava rock usually doesn't do well in shady, wet areas. Moss, algae and pilea tend to get rooted in the large pores and is very hard to control.
  • Rock is usually available in bulk, by the cubic yard or in 1/2 cubic foot bags. By the yard is usually about 25-50% cheaper, but it is a lot more work. Unless you are doing a large area that will require several yards, I would go with the bags. If you have it delivered in bulk, you have to pile it somewhere and then shovel it into a wheel barrel to distribute it where you want it. Then you have to clean up where the pile was. With the bags, you just carry them to where you want them, open them and dump them. Usually you want the rock about an inch and a half to two inches deep. That means that a bag will cover 3-4 square feet. Usually large rocks, like extra-large egg rocks will need to be a little deeper and small rocks like chattahochee, not quite as deep. The reason being that big rocks mean bigger gaps between them. If you like the look of the extra large egg rocks, I would suggest buying about half extra large and half medium. Spread the medium first and then the large on top. You get better coverage that way, saving some money, but still get the look of the larger rocks. If you buy by the yard, a yard will cover about 150 square feet.
  • Always use a good weed mat under your rock. In our sandy Florida soil rocks have a way of slowly sinking into the sand and disappearing! A weed mat will keep them on top.
  • Always use some type of edging between rock areas and lawn. I usually use a commercial grade plastic edging but you can use stone, brick or any other you like. If you don't use some type of edging. the stones will invariably get spread into the lawn and the lawn will grow into the rocks. If you try to edge with a power edger, you will be hitting rocks which is hard on the machine and dangerous for you.

Besides rock, there is also now rubber mulch! It is made from recycled tires and dyed in a variety of colors, including blue and green! It is very permanent. It is available in different textures and grades, some with the steel belts completely removed, some not. If it is going to be in a play area or someplace you might be walking barefoot, it is very important that you get it with all the steel removed. It is fairly expensive, usually $10-20 for a 1 cubic foot bag, but the price seems to be coming down. It can give a very nice effect and is a good use for old tires. It washes away easier than rocks but not as easily as wood. Again, I always use weed mat and edging with rubber mulch.